

So many questions on how I made drop cloth curtains for my living room– well, let met just tell ya’ll, I LOVE them and wish I would have done them sooner. Here is my step-by-step (because I can not sew, this process works best for me, if you can sew you may want to sub that with the gluing part)…

STEP 1:
Purchase your materials. You will need:
- Drop Cloth (one pack makes two curtain panels) I used: Canvas Medium Duty 9X12 from Lowes
- Hot glue gun + Glue sticks
- Measuring tape
- Scissors
- Iron
- curtain rings (click to see the ones I used)
- Curtain rod
STEP 2:
Lay the drop out on a flat surface and measure the width of the drop cloth. These are typically left over scrap material, so the length and width are “estimated” and not always exactly 9×12. Once you have measure the width, take half of that measurement (so for example if they are 104 inches across (which on of mine were), half of that would be 52) and cut directly down the center. Do NOT worry about making your cut perfect, because you will be gluing this part down anyway.
STEP 3:
Take about 1 inch of the material that is cut and fold it over. Where you folded the material over, put just a thin line of hot glue to hold it in place. Be careful to not over glue, as it will show through. This step will hid where you cut the fabric and all of the extra pieces that are unraveling off.
")
")
STEP 4:
IRON. I hate ironing, but these have so many creases in them that they have to be ironed, or else they will look super sloppy hanging.
STEP 5:
Lay the curtain panels down flat next to each other. Because these are SO LONG, unless you have taller than 12-13 foot ceilings, you will need to fold over the material. Take the side that you glued and fold it over one more time on the side, so that the glued part down not show when you fold over the total panel. Measure how much material is being folded, so that you can evenly do the others. I did 6 panels ya’ll, but the 4th I was getting a little over it!
STEP 6:
Place the curtains evenly on the curtain clips so that each panel hangs the same. You may want to cut the bottom of your fabric or adjust how much is folded over based on how high the rod is hung and how much extra fabric you want piling on the ground after they are hung.
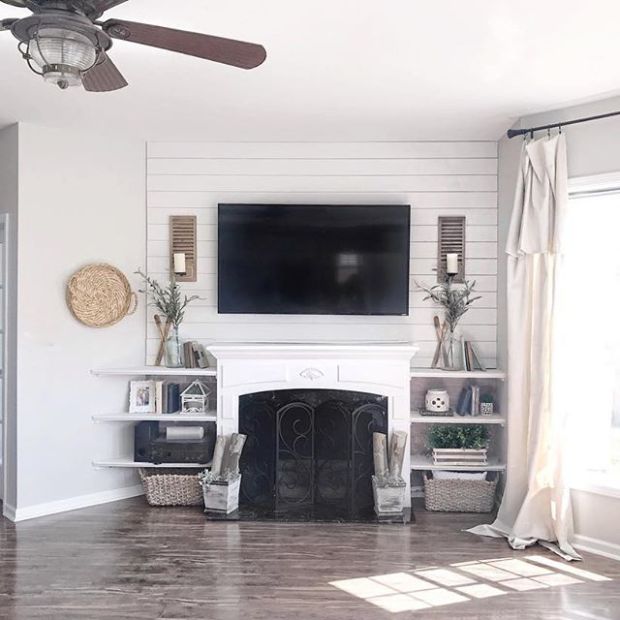
Personally, I like the curtains to be longer and for the fabric to touch the ground with these. I feel like it gives it more of an elegant and cozy feel, but it is whatever works for you!
Good luck– I hope this post helps those of ya’ll that are wanting to make these DIY curtains! They are totally worth it and you can not beat the cost!
x0x,
Candice Michelle Designs
