

Let me start by saying that, remodeling anything in your home is never EASY, but it can be simplified with the right knowledge and tools. I wanted so badly to remodel our bathroom floors in our master. My husband can literally do it ALL, so I knew it wouldn’t be an issue for him to remove the old flooring and replace it with tiles, BUT what he doesn’t have a lot of is TIME. Honestly, it was just the “go-getter” or the “never-stopper” (however you want to put it) in me and I just could not wait any longer! So, I did a TON of research and remembered a time when one of girlfriends (@meandmrjones on Instagram) did a bathroom remodel project using stencils. It turned out perfect, but her floors were actual tiles and my flooring is vinyl so, I really wanted to make sure that the paint would adhere and hold up for years to come, not matter what the flooring type was. I searched around for different DIY ideas and kind of created my own out of all the others.

Here is how I did my master bathroom floors: (everything below is linked)
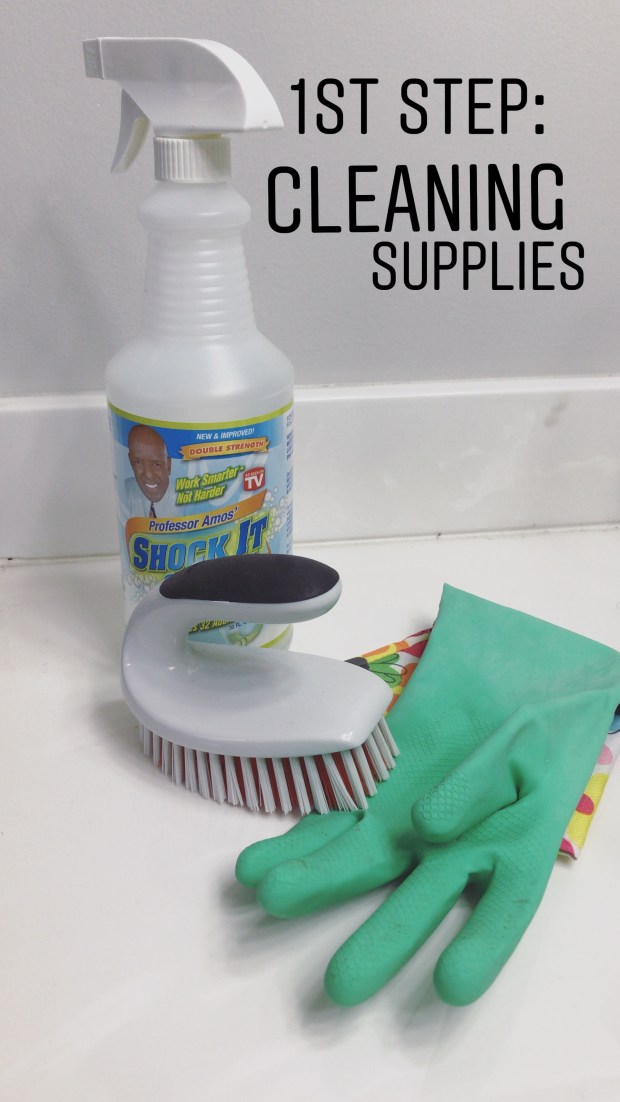
Step 1: collect your materials. You will need:
- An angled paint brush
- The stencil (I used the Augusta Stencil 12×12)
- Floor cleaner (whatever works on your floors)
- Floor cleaning brush
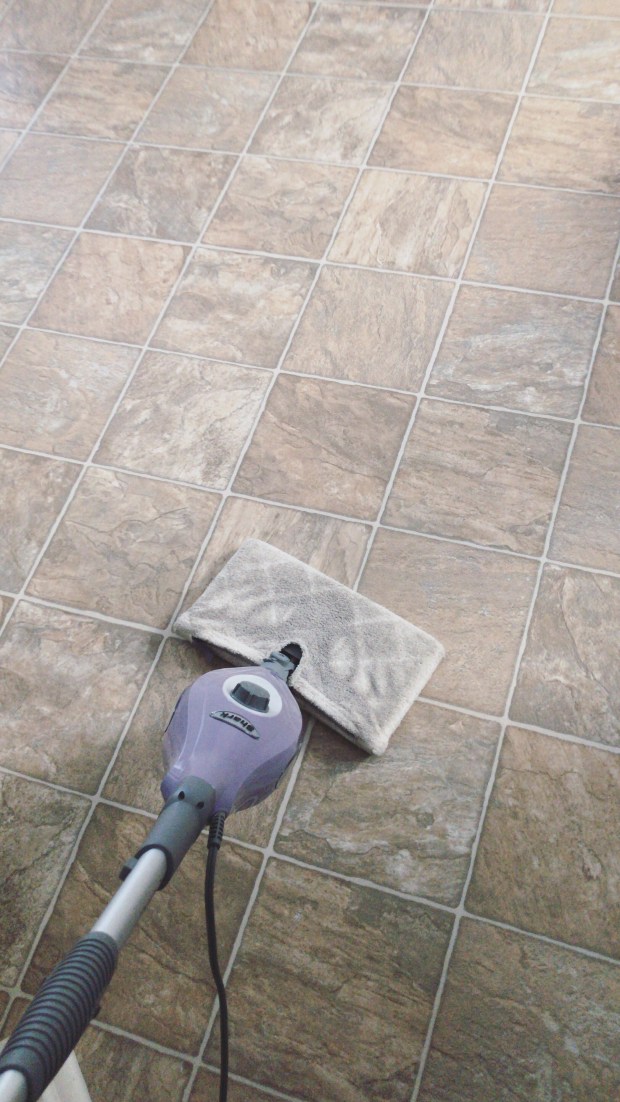
- Steam mop (optional)
- Tape
- Larger roller (buy extra foam rollers, you will need more than one)
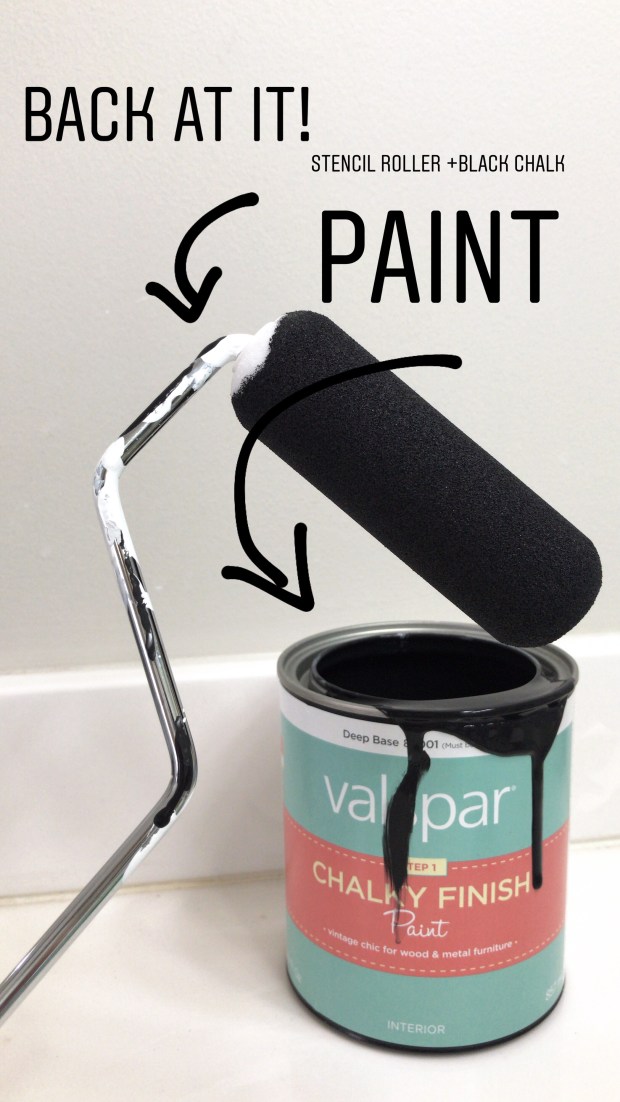
- Stencil roller
- Paint trays (4)
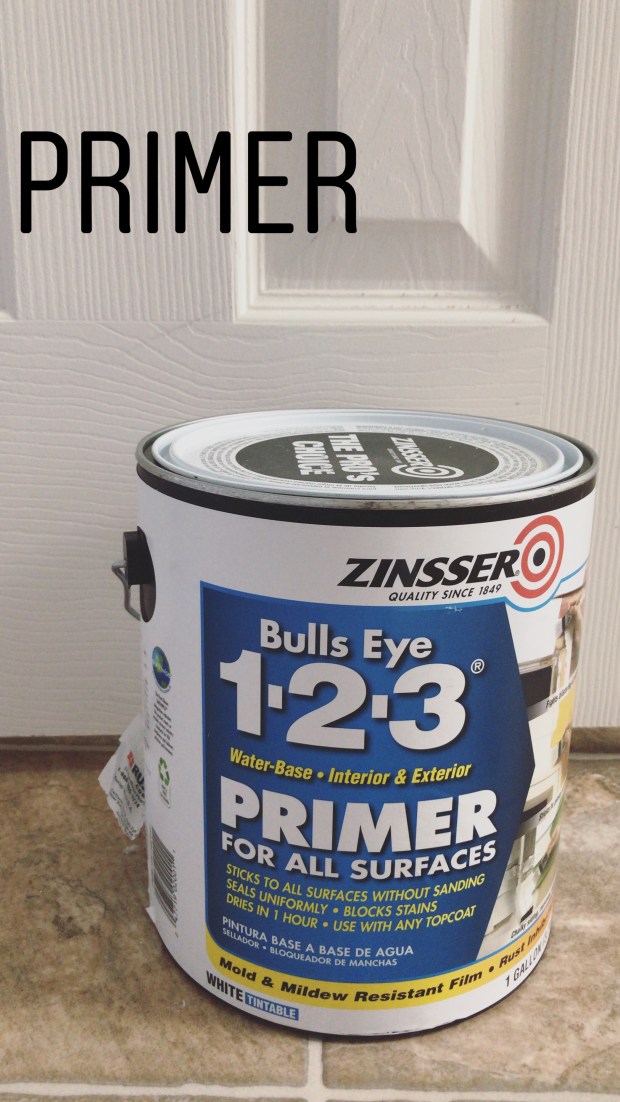
- Bulls Eye 1.2.3 water-based interior & exterior primer for all surfaces (white)
- Valspar porch, floor, and patio latex paint (white)
- Valspar chalky finish (black)
- Polycrylic (Minwax matte finish)
- Touch up brushes
Step 2: Clean your floors and grout REALLY good. I steamed mine after to make sure I got all the dust, hair and germs out of the room (I’m super OCD—so this totally optional).
Step 3: Tape off your baseboards, around your toilet, cabinets, tub and shower.
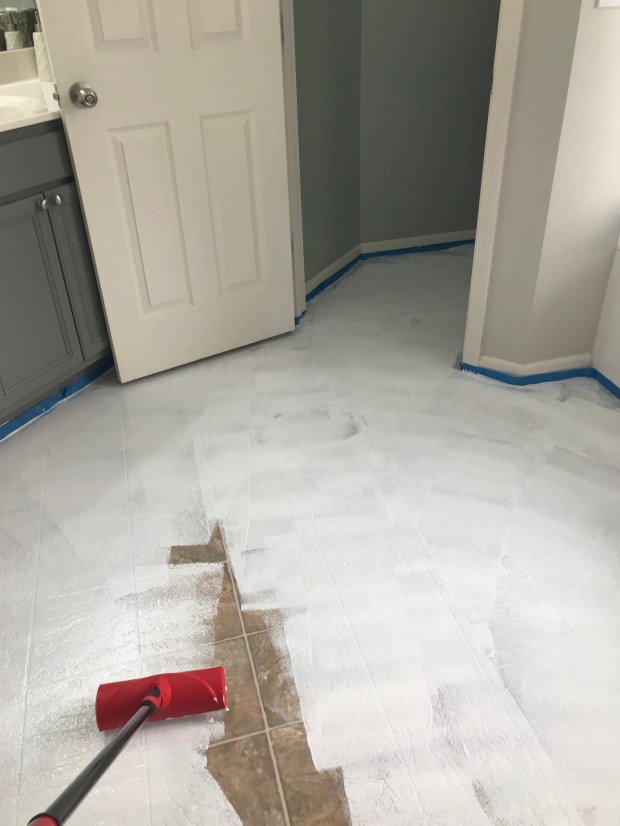
Step 4: Use your long roller and prime your floors with the Bulls Eye primer (I used 2 coats). You must wait at least 3 hours in between coats. I let the last coat dry overnight.
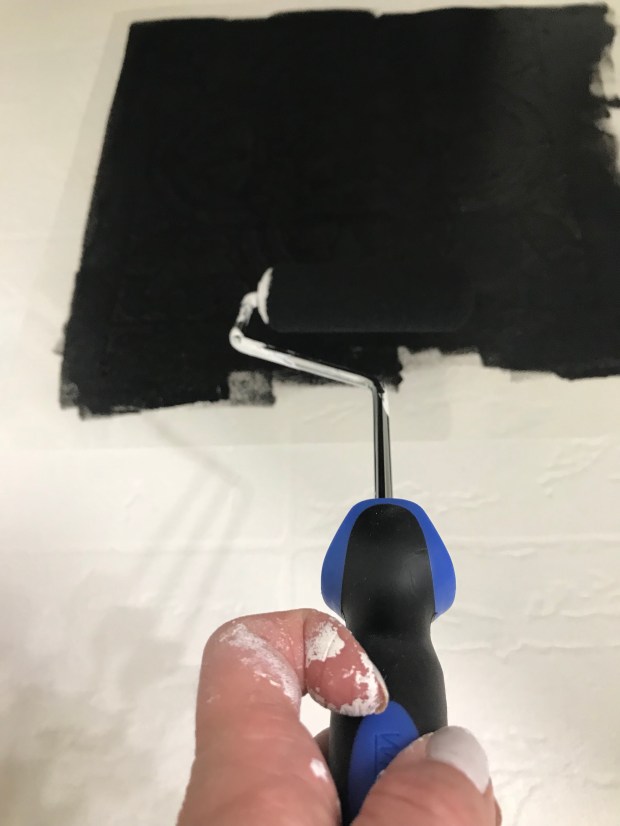
Step 5: After priming your floors, when completely dry, use the large roller again to paint them with the Valspar Latex Paint and let dry to at least 3-4 hours.
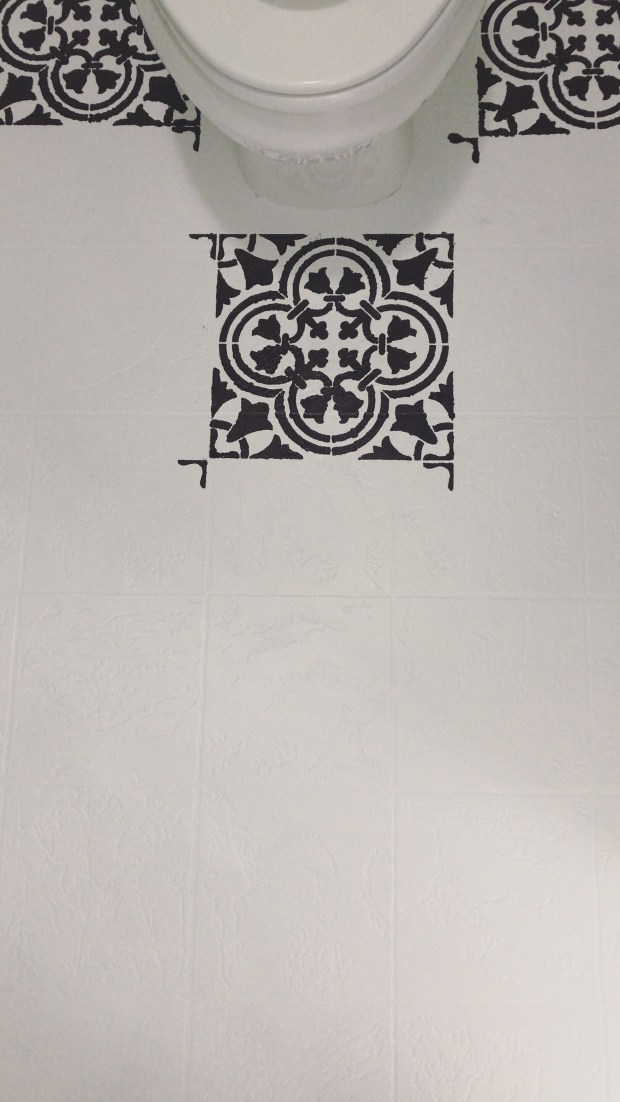
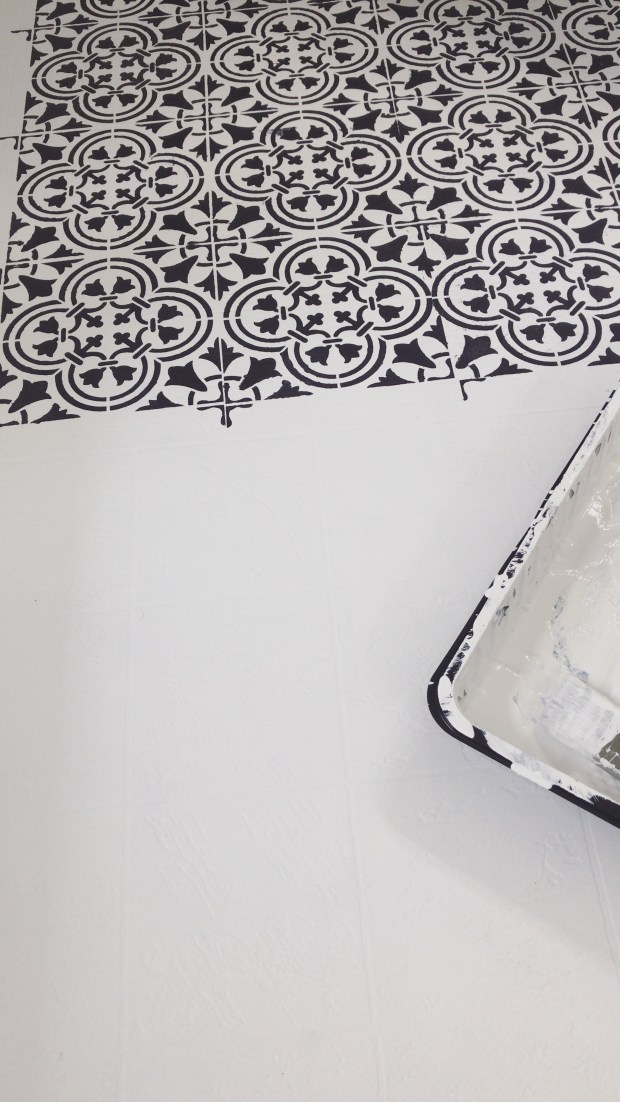
Step 6: Place your stencil. This is tricky because you want the project to flow. Our bathroom has a separate room for the toilet that connects, so I just tapped off that area to make a divider between the two rooms, and later removed the tape—which left a fresh white line between the two rooms. I started from one end of the room and worked my way to the other. You must skip every other tile because the stencil and paint are wet, and you do not want to smudge or smear the paint. Once the first stencil is placed where you will begin, take your roller, with your chalk paint and roll the paint on. You will not be able to get in the small areas OR in places where there’s not any room for a full stencil— you will have to wait and do those last.
Step 7: After stenciling the entire room, which could take a few days, go back and either bend or cut your stencil to fit those places that you were not able to stencil (i.e. around the toilet, the corners and edges of the walls, and weird curves or grooves). Stencil sets come with a grout stencil so you are able to get into those areas A LOT easier.
Step 8: (optional) you can go back over the stencils with a small angled brush to hide or cover up any imperfections that are super noticeable. You WILL have mistakes, don’t worry though, only you will notice them. They joys of stenciling!
Step 9: once everything is dry and how you want it, put two layers of the polycrylic sealant on the floors. I used a clean roller to do this with (even though it says to use a brush). It has a very strong smell at first, so a mask might help those that are sensitive to smells. Luckily, the odor clears quickly. Wait about an hour or so between coats.


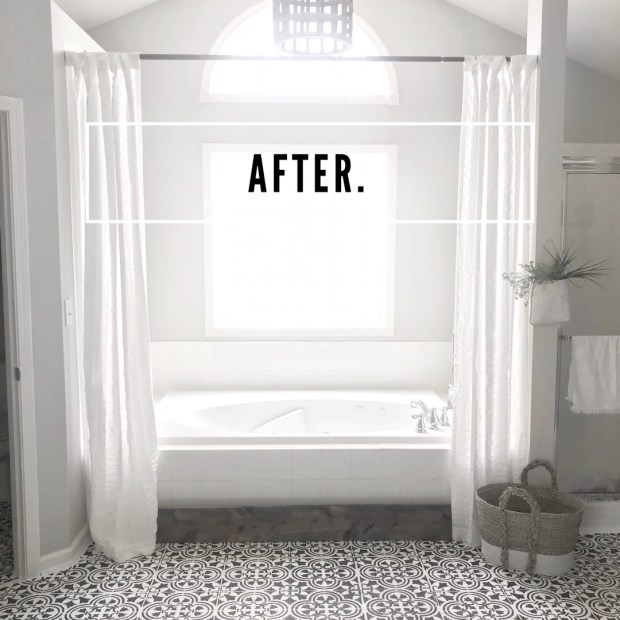
STEP 10: YOU ARE DONE! Yay for you!! Enjoy your new floors! Scroll down to see my before and AFTER!
Click the link below to use the same stencil I used for my floors. Cutting Edge Stencils are very durable, affordable and so easy to use! I HIGHLY recommend using this company and the steps above to tackle your next DIY project!
CLICK HERE : CUTTING EDGE STENCILS

Thanks for following along, tag me in your pics #CMDdiyfloors and tag Cutting Edge Stencils #Cuttingedgestencils
Love y’all,
Candice Michelle

Photo Cred: On a Whim Company
