

I make an “extra” living during the Holidays helping those get out of their CHRISTMAS STUMP (as I like to call it).
Let me start by first saying that Christmas is by far my most favorite time of the year! Some of you may know this, but I am actually what most would consider a Christmas baby, or close to it! I was born on December 28, three days after and was even brought home in an oversize red stocking, trimmed in white fur. My entire life, my Granny (and a few other relatives) would refer to me as “Candy-Cane”. So, needless to say, Christmas is kind of like embedded into my DNA.
Every year I go ALL out on my tree. The TREE is one of the most desirable, decorative, aspects of Christmas. Of course there is MUCH more to Christmas and the Holidays than decorations and Santa Clause, but for decor purposes, I will stick with the subject of the tree. Decorating your tree can be stressful, especially if you do not carry that artsy gene that some of us naturally have. So for this post, I am going to help those of you that need a little extra guidance.
Steps to decorating a tree that you will love:
- There is no RIGHT way! I know, this probably makes no sense to some of y’all, but honestly, there isn’t a right way… When you first start thinking about your tree and how you want it to look, think of all of things that 1. remind you of Christmas and then 2. are your favorite things. So for example, when I think of Christmas I think of reds, whites, snow, berries, fur, reindeer, bells, warmth, cozy, green, plaid, and wood. All of these things are random, they are not all actual things. Some of the things I named are descriptions of how I feel at Christmas or during the Holidays. So take these things and write them down or keep them in your mind for the next step.
- Now is the fun part, picking out what you want to go on your tree. Start by searching your favorite shops. I usually pick my ribbon first and then incorporate the ornaments in after that. This year I used a red and white plaid ribbon, a burlap and red ribbon, and a burlap and white stripe ribbon (all from Homegoods). I also used a black and white ribbon that is plaid (from Hobby Lobby). This may seem like an excessive amount of ribbon, but you really can use many styles of ribbon, as long as you know how to make them flow well together. Next, I add my ornaments. Now, many of these I’ve collected over the years, but some are newer than others. Below, I’ll show some close ups of the most recent ones. As a rule of thumb, don’t just use ornaments, add some flair to your tree by using signs, bells, lanterns, and other non-ornamental items.
- Placing your ornaments and decor around the tree is where most people get the Christmas Stump, if you didn’t already give up on your shopping trip. If you have made it this far, then good for you, lets get started decorating! Do not worry about the top of the tree yet, this step is for later. Take your ribbon (pick one to start with) and your floral wire and start weaving your ribbon around the tree. There is no right or wrong way to do this. You can start from the top of the tree and filter down OR you can go from side to side with the ribbon. I kind of used the top/down, side-to-side method with mine! Sometimes messy is better. The floral wire is used every 4-5 inches on the ribbon to hold it to a branch, so it isn’t just laying on the tree, but actually has the idea of ripples or movement and gives a more 3D/textured look. After you put your ribbon on the tree, take your ornaments and randomly fill in the empty spaces around the ribbon. Even when you think it may be “too much” take a step back and really evaluate what you are missing. Sometimes you need an extra pop of color somewhere or maybe a more neutral ornament somewhere else. Be messy, be fun, and do not try to make it perfect. Literally, I just stick ornaments everywhere and hardly put any thought as to where I am placing them! I just LOVE this part!
- Top your tree with the ribbon you used the least on your tree. I used my red and white plaid ribbon as my tree topper. I did not use it on the actual tree, except for a few tiny places, where I made it into small bows. It really makes the topper pop, and it sets it apart as a statement piece on the tree. As for the base, a fur skirt, a tin/metal bucket (like what my tree has, found at Michaels), or a wicker basket will all work! You can really have fun with the base and be creative with it!

This red and white ribbon was a favorite of mine this year, from one of my favorite places in the world, Homegoods of course! 🙂
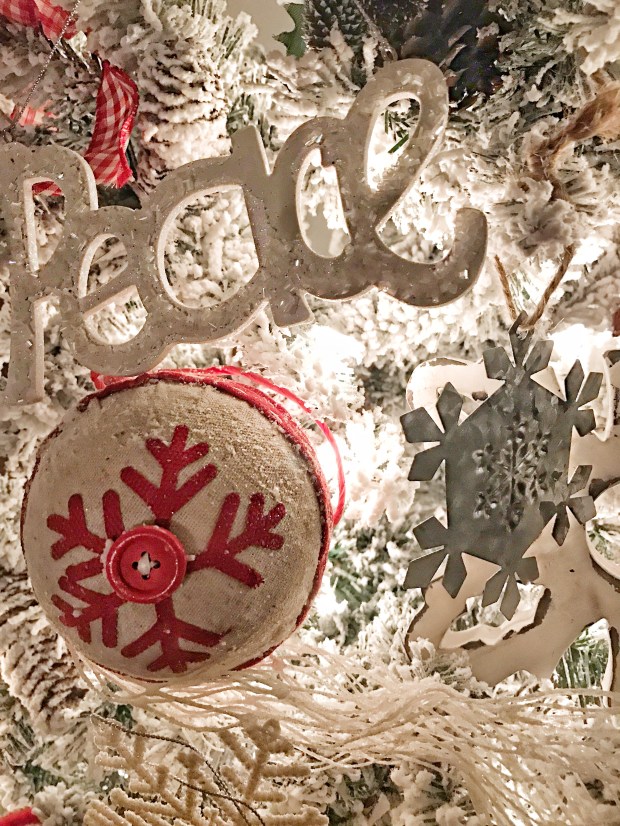
Shop Kirklands for ornaments like these! I love the farmhouse, raw look that these snowflake ornaments give my tree!
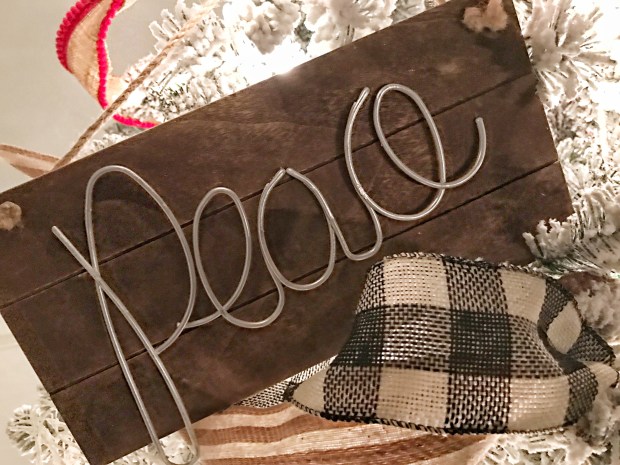
You know those “super awesome” bins at Target? Well, that’s where I scored this wood peace sign. Can’t beat $3.
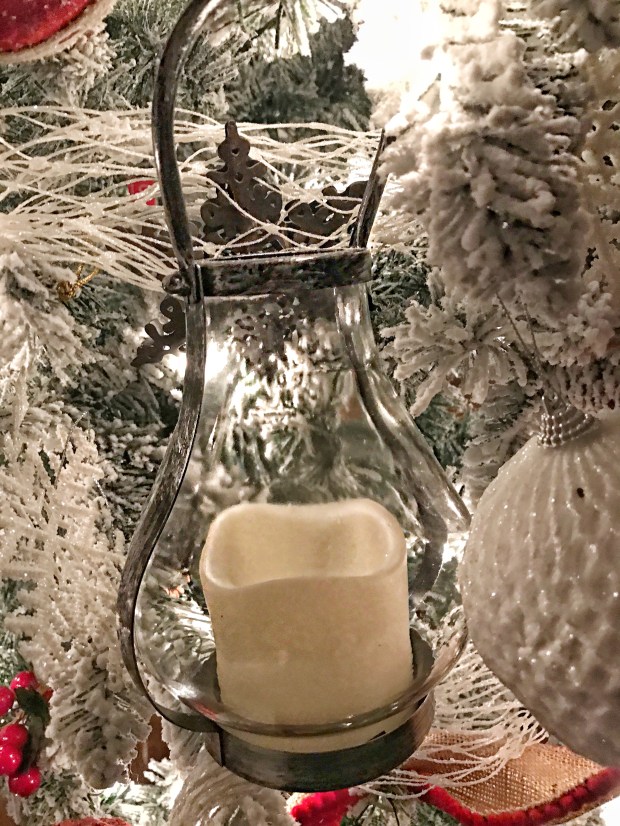
Ever think to shop Walgreens for your holiday needs? These battery power lanterns are such a SCORE!
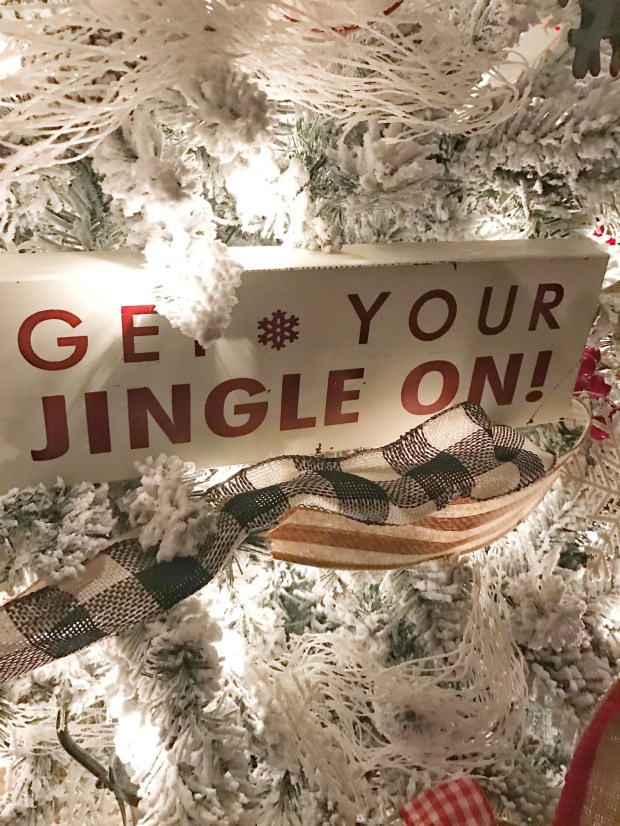
Get your Jingle on? How stinkin cute! I love this sign in my tree, from Michaels Stores. And who would have ever known that a sign would look good in a tree?
I know this post is ALL a bunch of words and not a video tutorial, which may have been more helpful (a thought for next year), but I do hope this helps those of you who are needing some extra Holiday Cheer, in the tree department!
I would love to see how all of you decorate your trees this year and to hear some feed back on this post (if it was helpful or not).
Tag your trees on your media channels for a chance to win a giveaway prize later this month: #candicemichelledesignstree

Wishing you all a MERRY shopping time! 🙂
x0x- Candice Michelle
